Familiarise yourself with the UV Texture Editor in the software of your choice. Like Maya, they too will have features that let you see and edit the UV mapping of objects.
(In Maya go to Window->UV Texture Editor)
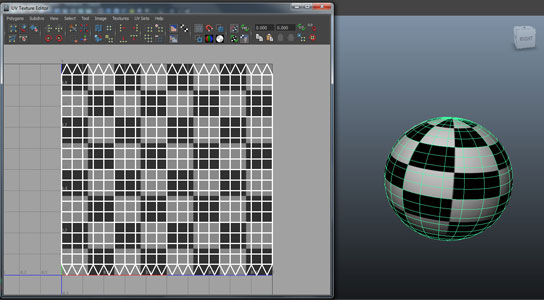
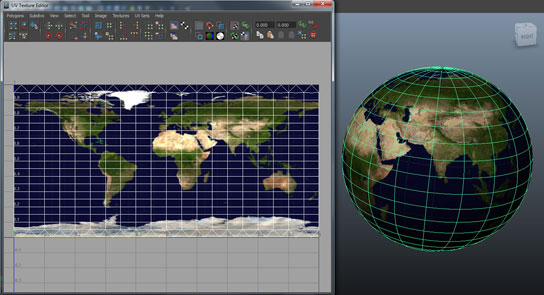
The window will show you how the UV mapping of the selected object has been done.
For the sphere, you can see that all the vertices are opened up to make a rectangle that covers the entire texture map.
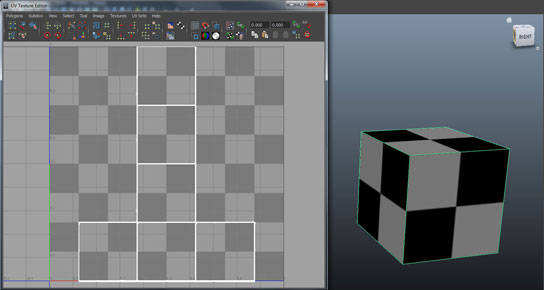
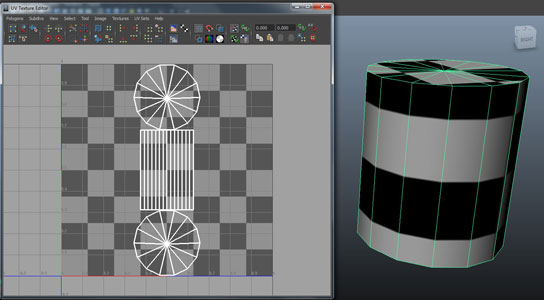
So, instead of the checker box, if we were to use textures matching the corresponding uv mapping, like the earth map for the sphere, the texture for a carton of milk for the cuboid, and that of a soft drink for the cylinder, you will see these textures accordingly in the viewport.

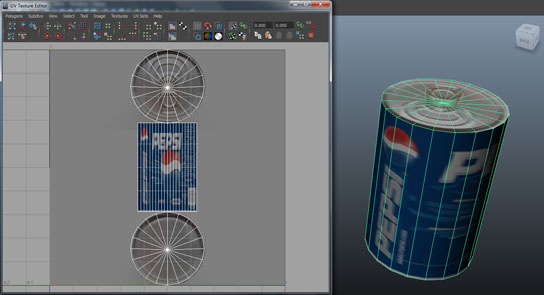
As the name of the window UV Texture Editor says, you can edit this UV map as per your convenience. For now though, it is important to simply understand how it happens.
For the obove examples though, since we used primitive objects, the appropriate UV mapping was created automatically for us by the software. But what about non-primitive objects or if you needed to have a different type of mapping than what is created by the software?