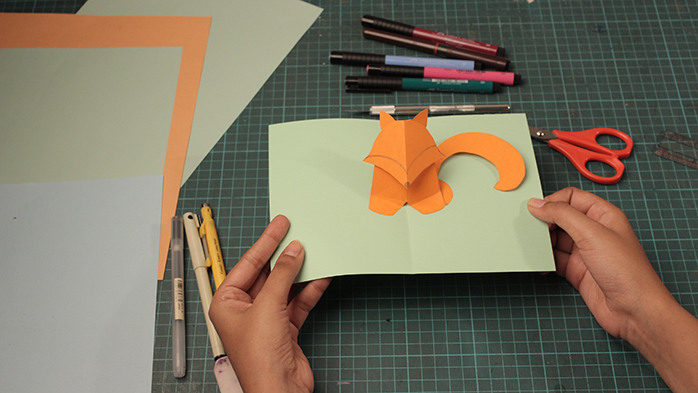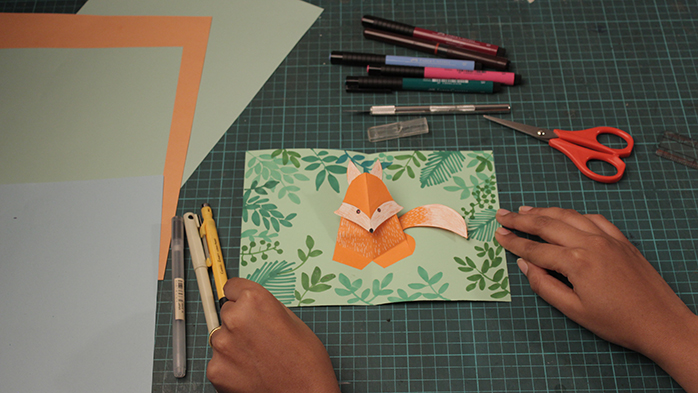
Step 1: Take any 2 same size colour tinted paper or cartridge paper, one for outer card and the other for the fox pop-up (with thickness of more than 135-gsm).

Step 2: Fold the paper (for outer card) in half and press down firmly.

Step 3: Fold the paper (for the fox) in half and draw the basic shape of the half fox as you can see in the picture.

Step 4: Cut out the pieces with the use of scissors or paper cutter.

Step 5: Make sure you will have 3 pieces of fox pop-up.

Step 6: Understand the fold carefully. Fold your main fox pop-up piece in half. Using a ruler as a guide, fold the fox popup pieces carefully.
Step 7: Make sure you will put all the pieces on the basic middle fold line. In this picture, we are using basic v fold. Use a very small amount of glue to stick (apply glue only on the base tabs of the body).
Step 8: Stick the fox popup head in the middle of the fox body fold by folding and glueing the tab provided on the top. Make sure your pieces after pasting will not go out of the card.

Step 9: Stick the tail behind the fox pop-up body.

Step 10: Your Basic structure of the fox is ready. You can decorate it with the use of coloured pens or any other art material.

