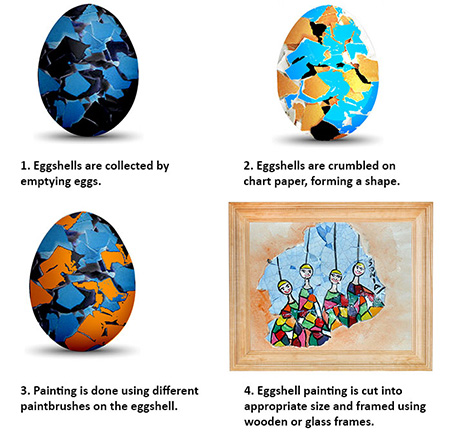
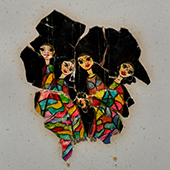
The making of eggshell painting starts with the artisan gathering enough eggs. These handpicked eggs are then emptied into a bowl, and the shells are washed properly. Once washed, they are cut into two halves and dried using a clean cloth. Now the artisan proceeds to the next step, i.e., shaping. Here, the eggshells are glued to a chart paper by applying an adhesive to the shell's inner portion and placing it over the paper. Keeping them flat, these are pressed for natural cracks, which give a unique look to the craft. After the shells are nicely stuck, painting is done on them to produce intended patterns. Different kinds of acrylic paints and brushes are used here. Natural colors, watercolors, and oil paints are also preferred at times for the painting purpose, depending on the idea and the kind of detail needed. Background colors are certainly given to make the main characters drawn stand out. Once the painting is done, the art piece is left to dry for 10 minutes. The final stage is cutting, where the chart paper holding eggshells are cut into appropriate sizes according to the artisan's idea using a scissor. This cut piece is then framed inside a wooden or glass frame for longer durability. In this way, eggshell paintings are made.
Flow Chart:


