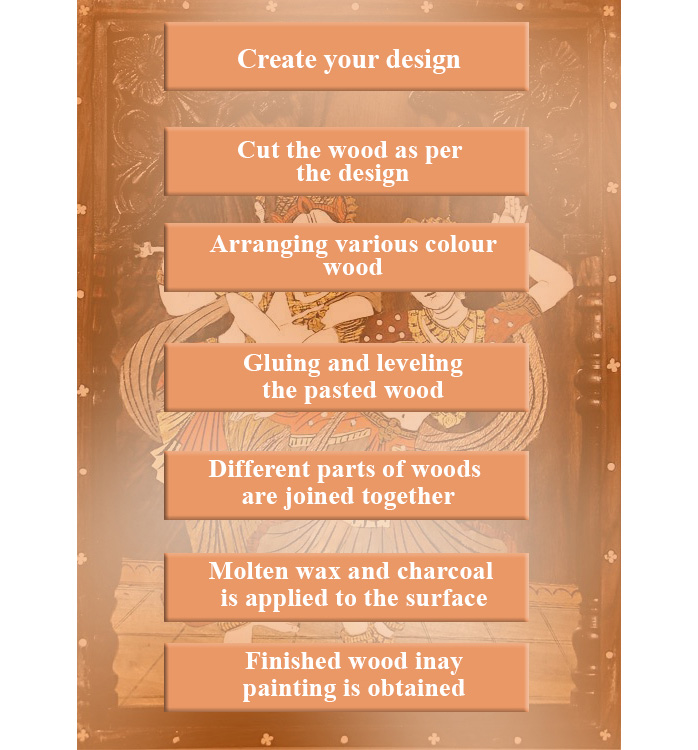
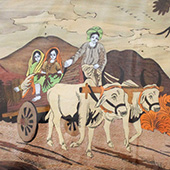
Firstly the artisan decides on the design and illustrates it on paper. Many copies of this design are made and kept ready to be used as a tracing material. This design with a number of individual patterns and pieces is then placed over a wooden plank and cut using a coping saw. Here trimming is done around the exteriors of the individual pieces, thus removing the unwanted adjacent areas. The process is followed by the application of glue over the chosen material. Now holding the saw vertically, insertions are made straight up and down. The interiors of the design are also sawed carefully. Once done, the blade is unthreaded to work on the outside line, thus giving more hold to the saw. When all the pieces are cut out rightly and set in order, they are nailed together to have a framework of the original pattern. Then the pattern is glued to the main woodblock, and excess glue is removed from the edges after drying, followed by the application of fillers like dust to fill in the cavities formed during the making process. This step gives a seamless finishing to the product. Glue is also infused into the gaps that have already been filled with dust. Grooves are also made using a chisel to give more detailing, and a mixture of molten wax and charcoal is applied to the surfaces of the workpiece using a brush. As the last step, the product is then scraped with a chisel for a smoother finish, and with this, we get a completed piece of wooden inlay work.
Flowchart:


