Final Output of design process:
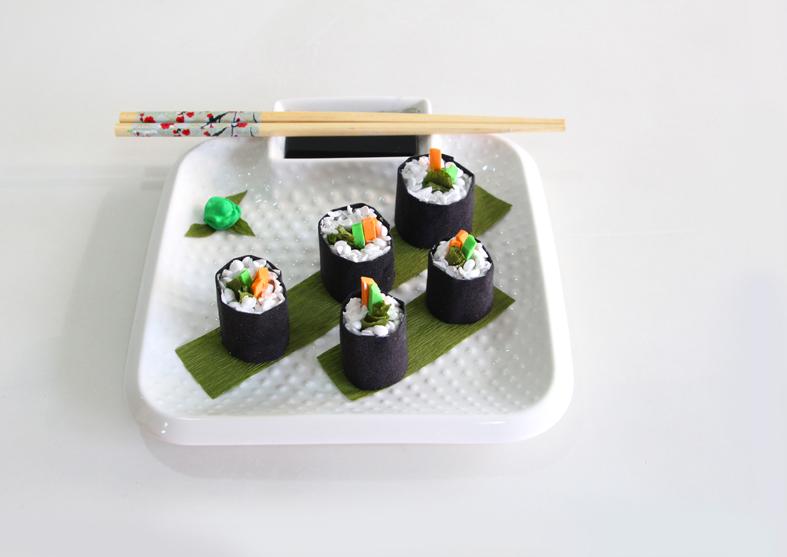
Kama no Sushi – Kama means paper in Japanese, hence the name.
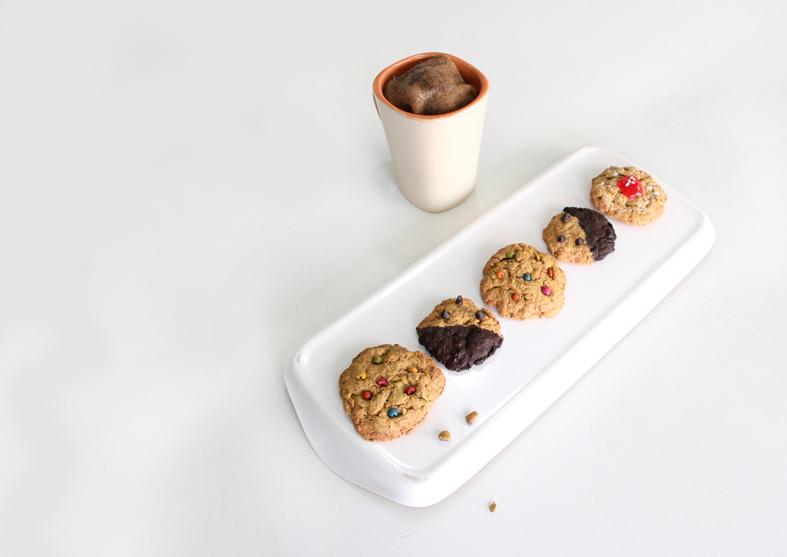
Crumpled cookies
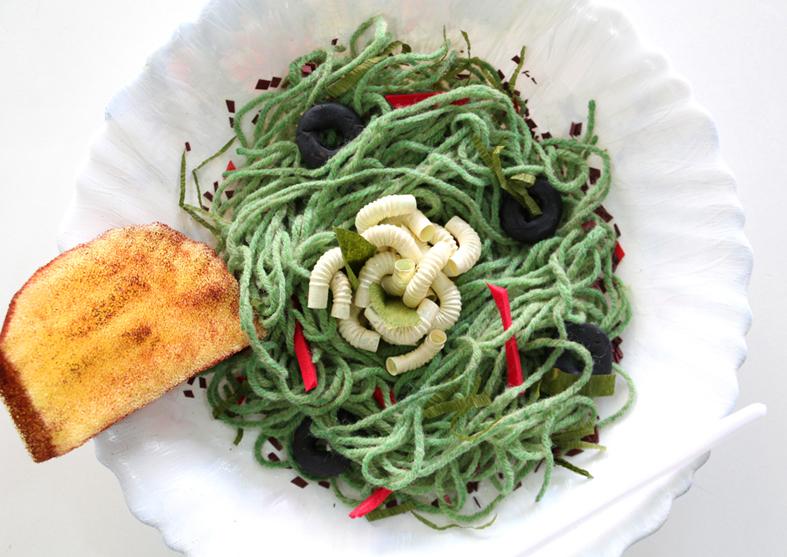
Spaghetti ‘Wool’ognese in Green Sauce – Strands of wool being the essence of the dish.
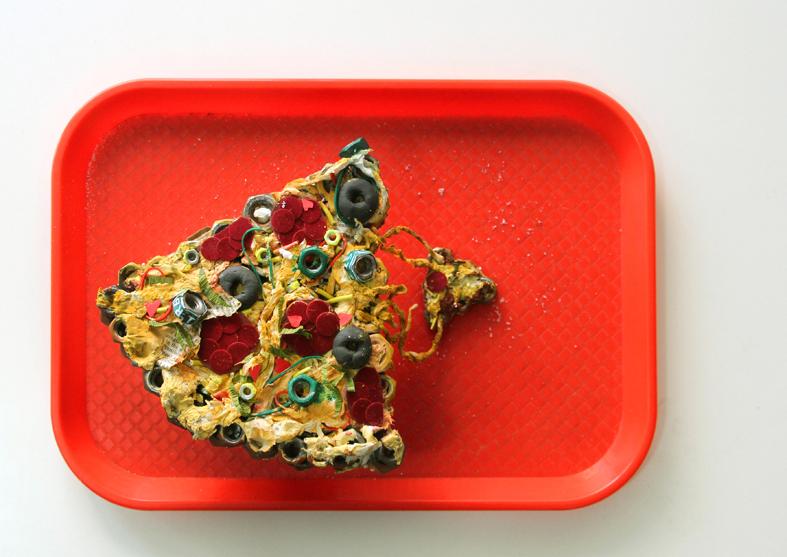
Nut Crust Pizza
The execution is just as important as the idea. Pay attention to where you are staging your artwork. Does a white background make sense? Or a red tray? Would the cookies look good in a red tray? What does the red tray indicate?
What can you add as an extra element to finish it off as a perfect image? What goes with the artwork. A dash of white a powder onto the foam - fries make them look well salted and ready-to-eat. Adding some paper crumbs around the paper mache cookies makes looks like they are fresh out of the oven. Adding a piece of sponge dressed up as a garlic bread is the finishing touch to the perfect bowl of spaghetti
These little details help develop your sense of Art direction, which is essential when you are making your work final and well finished. The tiniest of details matter in this case, and smallest of additions can accentuate a simple looking artwork.
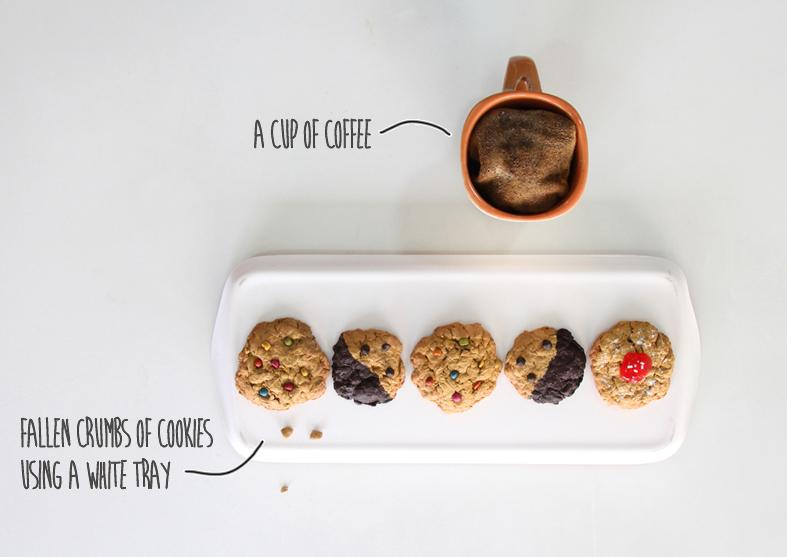
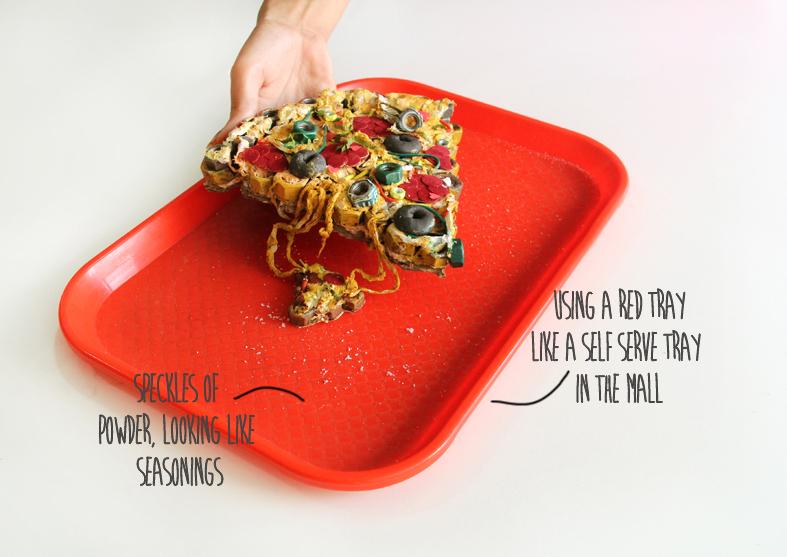
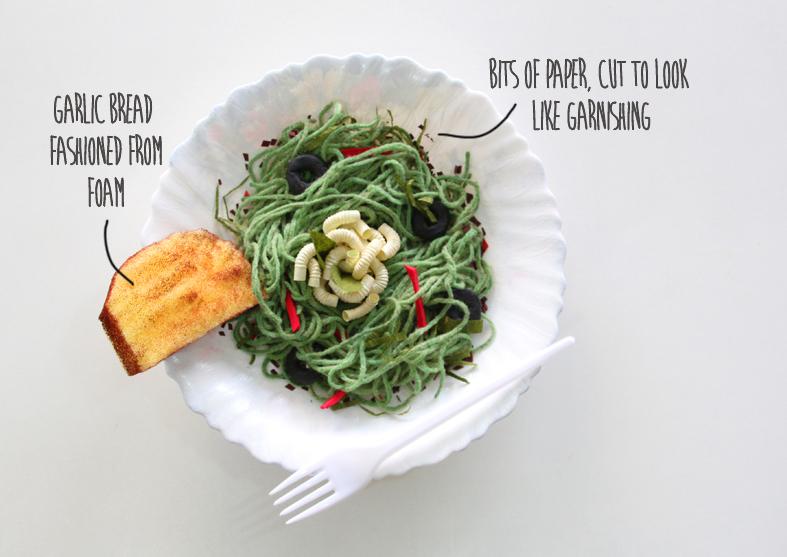

Shooting the artwork with a decent camera (preferably a DSLR) is essential. Give a thought to the angles that you can capture it from in order to bring out the essence of it. Try shooting the artwork in natural daylight or sufficient artificial lighting, ensure that the image is focussed upon clearly and the size of the image clicked is sufficiently large to edit and be used for different applications.
The cookies look better when shot diagonally, but the pizza looks delicious when seen from the top. The spaghetti looks even more delicious in a close-up.
Perfection in execution is crucial. Once the images are shot from various angles. Line them up into Photoshop. Remove the images that are not composed well or that are blurred and extremely under/over exposed.

These are examples of image that cannot be used. A badly composed image, a blurred image and an over exposed image (L to R). Once you have done your shoot, you need to get rid of any such images, this will help you to select the final images.
Select only 4 images that represent the top, side diagonal and close-up view of the artwork. Tweak the image for any mistakes using the ‘brush’ tool or the ‘clone stamp tool’ in Photoshop. Anything that is disturbing like a strong shadow can be easily corrected using ‘exposure’ or the ‘dodge tool’ which allows you to lighten the image in certain places. If the image looks too faded out, try using tools like ‘levels’, ‘exposure’ and ‘hue and saturation’ to make the image come sufficiently alive.

You can see how the image looks before and after editing in a photo-editing software.
