Design Course
Product Drawing
Representation of Objects
by
Highlights are used to grab attention or create focal points for the observer by virtue of the reflections. They also help define form without one having to filling in or fleshing out the whole thing. They are the brightest spots on the object as light reflects most here.

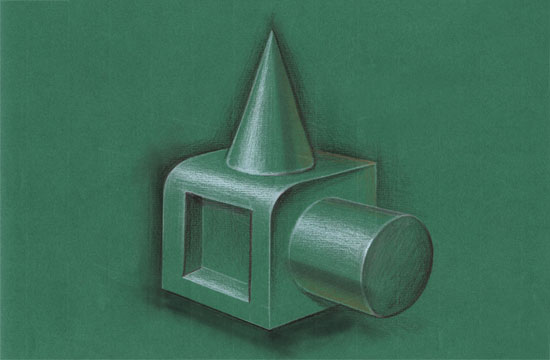
Fig. 23: Notice the variation in fillets that give cues of the edge profiles.
Principles:
The general principles that one can adopt for highlights are:
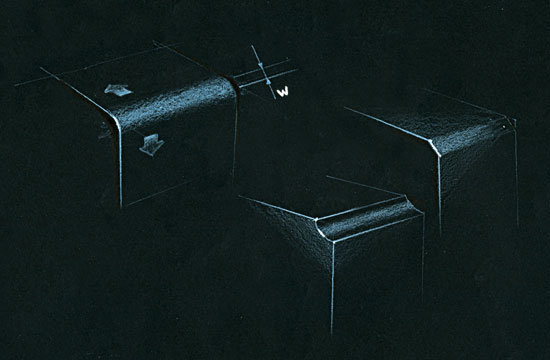
• Sharper the edge, lesser the width of the highlight (marked as ‘w’ in Fig: 24 below).
• Bigger fillets have wider highlights.
• Highlight fades on either side.
• Chamfer edge picks up the light on the surface.
• Highlights on glossy surface is brighter.
• Highlights on matt surface is dull.

Examples:
Exercise 8:
Highlights on Simple Forms:
• Apply the rules discussed above to draw various basic forms, taking cues from the aforementioned examples.
Note:
One can use highlights to great advantage for representing transparent and translucent objects.
Exercise 9:
Highlights on Transparent and Translucent Objects:
• Take up everyday objects such as a drinking glass or bottle, and using a white colour pencil (or crayon/ white pen, depending on necessity), try to achieve maximum effect with minimum touches through accurate highlights.


