1. Gloss Test (ASTM D523)
Gloss is associated with the capacity of a surface to reflect more light in directions close to the specular than in others. It refers to surface shininess. Measured gloss ratings by this test method are obtained by comparing the specular reflectance from the specimen to that from a black glass standard. Other visual aspects of surface appearance include the distinctness of reflected images, reflection haze, and texture. The specular gloss measurement is performed for the light reflected from the sample surface. The angle of reflection at different angles is measured in Gloss Units (GU) and matched against standards. High gloss is measured at 20 deg. Universal measurement at 60 deg and low gloss is measured at 85 deg.
2. Adhesion Tests
Bend Adhesion Test (ASTM D522)

(Image source)
The sample is subjected to 180 degrees bend against a roller of a specified diameter. The sample is observed for cracks or any other defects at the peak edge of the bend.
3. Crosscut hatch Hardness Test (ASTM D3363)

(Image source)
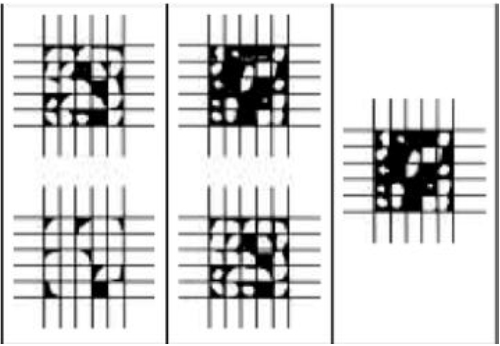
A cross-hatch pattern is created on the sample with a sharp knife, the grid size being 3 mm apart. An adhesive tape is firmly stuck on the sample and peeled of vigorously. Depending upon the amount of peel off or detachment of paint flakes the adhesion quality can be determined on a scale of ISO Class 0B to 5B, 0 being a fail and 5 being excellent.
4. Chemical Resistance Test (ASTM D1308)

(Image source)
Resistance to various liquids used in the home is an important characteristic of organic finishes. These test methods provide how the relative performance of coating systems may be evaluated.
5. Impact Test (ASTM D2794)
Coatings attached to substrates are subjected to damaging impacts during the manufacture of articles and their use in service. In its use over many years, this test method for impact resistance has been found to be useful in predicting the performance of organic coatings for their ability to resist cracking caused by impacts. This test is performed to know the values of deformation, Impact resistance, and impact Strength.
 A tested sample.
A steel ball of specified mass is dropped from varying heights onto the sample and checked for visual damages such as cracks, peelings, flexibility, etc., Different methods are used for a different types of coatings.
6. Salt Spray Corrosion Test (ASTM B117)
ASTM B117 test
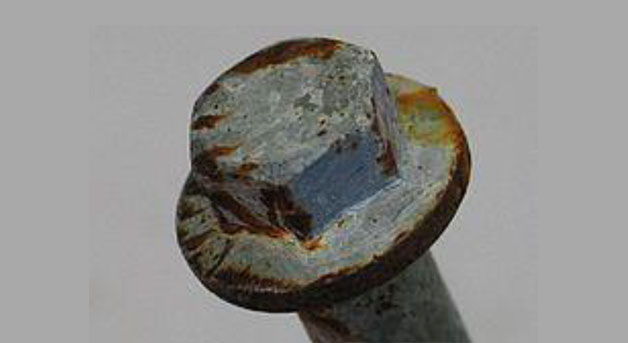
The salt spray test is a popular corrosion test method, used to check corrosion resistance of materials and surface coatings. The solution typically used is Sodium Chloride solution with a concentration of 50+/_ gm/L. The standard test duration is for 72 hours.
ASTM B117 is the test conducted to visually find and measure the corrosion resistance of metals, surface coatings.

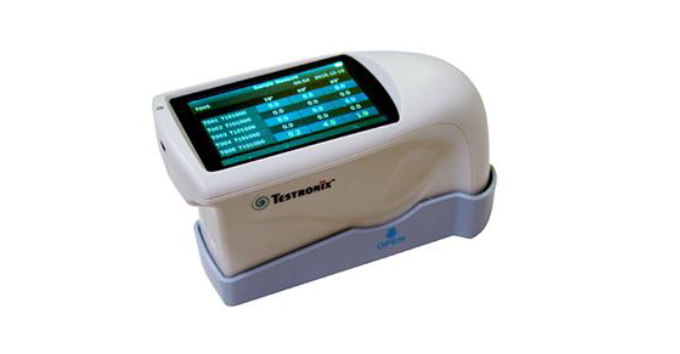 Gloss test meter.
 Measurements from different angles.

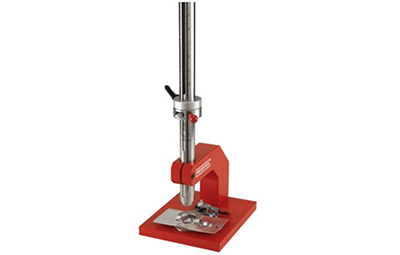 Impact Tester.